

A Practical Guide to Chemex Coffee Brewing
There's something truly special about Chemex coffee. It delivers an exceptionally clean, smooth, and flavourful cup, all thanks to its non-porous glass brewer and uniquely thick paper filters. This iconic pour-over method is famous for highlighting the nuanced notes in high-quality beans, giving you complete control over every variable for a consistently superior coffee experience. It’s part science, part satisfying daily ritual.
Why Coffee Lovers Still Choose Chemex
In a world overflowing with complex coffee gadgets, the Chemex stands out for its elegant simplicity and the remarkable quality of coffee it produces. It's not just another brewer; it's a piece of functional art that has earned its place in the Museum of Modern Art and, more importantly, in the kitchens of discerning coffee enthusiasts for decades.
The real appeal is in its fundamental design, which transforms the daily act of making coffee into a thoughtful, engaging ritual. The secret to its success is twofold: the iconic hourglass shape of the borosilicate glass carafe and the proprietary bonded paper filters. This combination is what makes Chemex brewing one of a kind.
- Purity of Flavour: The non-porous glass construction ensures no unwanted flavours or odours get into your coffee, allowing the true character of the beans to shine through.
- Exceptional Clarity: The filters are 20-30% thicker than standard paper filters. They effectively remove undesirable oils, sediment, and bitter compounds, resulting in an incredibly clean and bright cup without any harshness.
- Total Brewer Control: Unlike an automatic machine, the Chemex gives you direct influence over every variable—water temperature, grind size, pouring speed, and saturation. This hands-on approach lets you perfect your technique and tailor each brew to your exact preference.
A Legacy of Intentional Design
The Chemex was invented back in 1941 by Dr. Peter Schlumbohm, a German chemist whose background in laboratory science directly inspired its creation. He designed it to be a flawless infusion device, and by 1943, its blend of form and function had already secured it a spot in the Museum of Modern Art. This history highlights how the brewer’s core purpose has always been to achieve the purest possible extraction—a principle that continues to resonate with coffee lovers today.
The beauty of the Chemex is that it forces you to slow down. It’s not about pushing a button; it’s about participating in the creation of something wonderful. Each step, from the bloom to the final draw-down, is part of the sensory experience.
More Than a Method—It’s a Ritual
For many of us, the process is just as rewarding as the final product. The methodical pouring, the fragrant bloom of freshly ground coffee, and the visual appeal of the brewing process create a calming morning routine.
This mindful approach is the perfect way to appreciate the subtleties of exceptional, locally roasted coffee beans, where every delicate flavour note can be savoured. This guide will walk you through every step of mastering this timeless craft.
Assembling Your Chemex Brewing Toolkit
The jump from admiring the Chemex’s beautiful design to actually brewing with it takes just a few key pieces of gear. While the brewer is obviously the star of the show, it’s the supporting cast—the grinder, the kettle, the scale—that truly makes the magic happen. Getting the right tools together is your first real step toward mastering the art of Chemex coffee.
The idea isn’t to fill your kitchen with expensive gadgets, but to give yourself precision and control. Each item has a specific job, helping you manage the variables like grind size, water temperature, and coffee-to-water ratio. These are the things that will ultimately define the taste in your cup. Let’s break down what you’ll need.
The Non-Negotiable Essentials
Some tools are just fundamental to the Chemex process. Without them, you’re basically just guessing, and your results will be all over the place. Think of these as the foundation for brewing a consistently great cup of coffee.
First up, and arguably the most important, is a quality burr grinder. Blade grinders just smash beans into uneven chunks, which means you get bitter, over-extracted flavours and sour, under-extracted notes all in the same brew. A burr grinder, on the other hand, mills the beans between two revolving surfaces, creating uniform particles. Trust us, this is the single biggest upgrade you can make to your coffee game.
Next, you absolutely need a digital scale with a built-in timer. Precision is everything with pour-over coffee, and just "eyeballing" it won’t cut it if you want repeatable results. A scale lets you accurately weigh your coffee and water, so you can nail that perfect brew ratio every single time. Most coffee scales measure in 0.1-gram increments, which is exactly the kind of accuracy we’re after.
Finally, a gooseneck kettle is a must-have for control. That long, elegant spout lets you pour hot water with incredible precision and a slow, steady flow. This is crucial during the delicate bloom phase and for ensuring all the coffee grounds get evenly saturated. A standard kettle just can’t offer that level of finesse.
Your Chemex Brewing Starter Kit
To make things even clearer, here’s a quick rundown of the essential gear and a few tips to get you started. This is the kit that will set you up for success from day one.
| Equipment | Why It's Essential | Pro Tip |
|---|---|---|
| Chemex Brewer & Filters | The core of the setup. The thick, bonded filters are key to the clean, bright flavour profile. | Always buy the proprietary Chemex filters; standard filters are too thin and will alter the taste. |
| Burr Grinder | Provides a consistent, uniform grind size, which is critical for an even extraction and balanced flavour. | Start with a medium-coarse grind setting (like coarse sea salt) and adjust from there to dial in your brew. |
| Digital Scale | Ensures an accurate coffee-to-water ratio, the most important variable for repeatable results. | Place your entire Chemex setup on the scale and tare it to zero before adding grounds for maximum accuracy. |
| Gooseneck Kettle | Offers precise control over your pouring speed and placement, preventing channeling and uneven saturation. | For best results, use water heated to between 90°C and 96°C (194°F to 205°F). |
Putting together this simple toolkit gives you everything you need to start experimenting and finding the perfect recipe for your palate.
The Most Important Ingredient: High-Quality Beans
At the end of the day, your coffee will only ever be as good as the beans you start with. No amount of perfect technique or fancy gear can save a stale, low-quality bag of coffee. This is where sourcing from a trusted local café like East End Annie's makes all the difference.
Freshly roasted beans are packed with the volatile aromatic compounds that create a complex and vibrant cup. By choosing top-tier beans, you’re setting the stage for an incredible Chemex experience from the get-go. To see what we mean, you can browse a collection of locally roasted coffee beans perfect for this brewing method. The Chemex has a huge presence in local coffee scenes, especially in places with a strong craft culture. Its popularity even has a measurable economic impact. In California, for example, the brewer has become so entrenched in consumer habits that family-owned roasters report it accounts for roughly 25% of their equipment sales. This just goes to show how a simple brewing device can shape local coffee economies and become a beloved staple for home brewers. You can discover more about the Chemex's history and impact in North America.
A Practical Walkthrough of the Brewing Process
Alright, you've got your gear ready to go. Now for the fun part: actually brewing the coffee. This is where the magic happens, where precision and art come together. Think of it less like following a strict recipe and more like a conversation between you, the coffee, and the water. Each step flows into the next, building up layers of flavour that result in that famously clean, bright Chemex cup.
We'll walk through everything from prepping the filter to the final pour, giving each stage the focus it deserves. Honestly, getting this process down is incredibly rewarding. It turns a simple morning routine into a satisfying ritual. Let's get brewing.
Setting the Stage for Success
Before any water hits the coffee, a little prep work makes all the difference. The first thing you'll always do with a Chemex is fold and rinse the filter. Those special Chemex bonded filters are square, so you’ll fold it in half, then in half again to make a cone. When you open it up, make sure one side has three layers and the other has just one.
Now, place that filter into the top of your Chemex, with the three-layered side facing the pouring spout. This is a crucial little detail—it adds support and stops the spout from getting blocked when you're pouring.
Next up, grab your gooseneck kettle and give that filter a good rinse with hot water. This does two important things: it washes away any of that papery taste from the filter and, just as importantly, it preheats the glass carafe. A warm brewer helps keep the temperature stable throughout the process, which is key for a balanced extraction. Once it's rinsed, carefully toss out the water, making sure the filter stays put.
Measuring and Grinding Your Beans
Time for the star of the show: the coffee. For a single cup, the classic 1:16 ratio is a fantastic starting point. That’s one part coffee to sixteen parts water. A solid, reliable recipe is 25 grams of coffee to 400 grams (or millilitres) of water. Use your digital scale to weigh the whole beans—don't eyeball it! Precision is your friend here.
With your beans measured, it's grinding time. For a Chemex, you're aiming for a medium-coarse grind, something that looks and feels like coarse sea salt. If you go too fine, the water will get stuck and over-extract the coffee, leaving you with a bitter, harsh cup. Too coarse, and the water rushes through, resulting in a weak, sour, and under-extracted brew. A good burr grinder is indispensable for getting that uniform consistency you need.
Once ground, pour the coffee into the filter. Give the Chemex a gentle shake to flatten the grounds into an even bed. This helps the water saturate everything evenly from the get-go.
This diagram shows the essential flow for assembling your brewing tools, from grinding the beans to heating the water and weighing everything out.
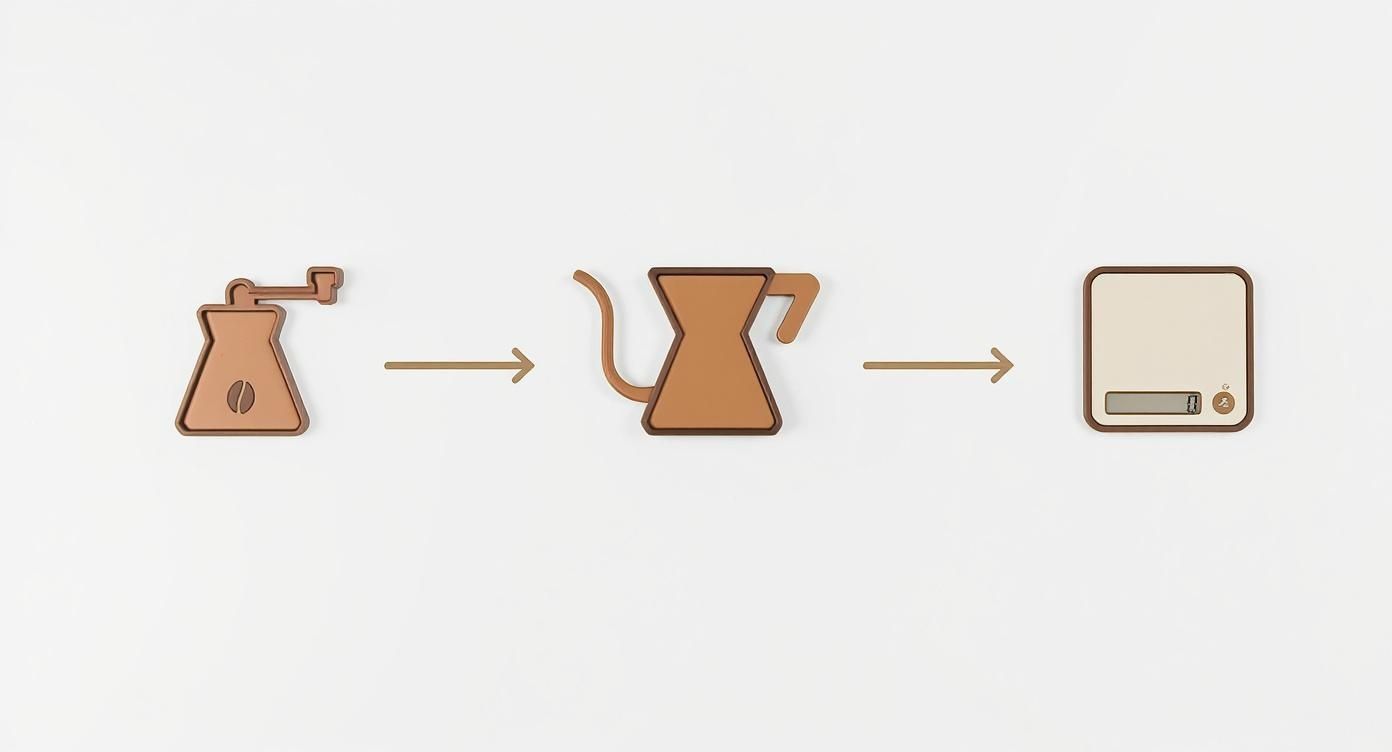
Each tool really does play a critical role, giving you the control you need to pull off a perfect cup of Chemex coffee.
The All-Important Bloom
Your coffee grounds are level, your scale is tared back to zero—it's time for the "bloom." This is probably the most critical moment of the whole brew. Hit start on your timer and slowly pour about twice the weight of the coffee in hot water over the grounds. For our 25-gram dose, that’s 50 grams of water.
Use your gooseneck kettle in a slow, circular motion to make sure every last ground gets wet. You’ll see the coffee bed puff up and bubble almost immediately. That’s trapped carbon dioxide (CO2) escaping from the fresh beans. It’s a beautiful sight.
Let the coffee bloom for about 30 to 45 seconds. This step is vital because it allows the CO2 to escape, preventing it from repelling water during the main pour. Skipping the bloom can lead to an uneven extraction and a noticeably sour taste in your final cup.
Mastering the Pouring Technique
After the bloom, it’s time for the main event. Your goal is to bring the total water weight up to your target—in this case, 400 grams. You’ve got a couple of ways you can approach this:
- Continuous Pour: Slowly and steadily pour the rest of the water in a controlled, circular motion. Work your way from the centre outwards and back again, trying to keep the water level consistent. This technique often gives you a beautifully balanced and clean cup.
- Pulse Pouring: This method involves adding water in stages, or "pulses." You could pour up to 200 grams, wait 30 seconds for it to drain a bit, pour to 300 grams, wait again, and finish at 400 grams. Pulsing agitates the coffee bed more, which can help pull out more complex flavours.
Whichever way you go, try not to pour directly down the sides of the filter. That can cause water to sneak past the coffee grounds without extracting anything. Your total brew time, from the second you start the bloom to the very last drip, should land somewhere around 3.5 to 4.5 minutes.
This level of control over variables is exactly why the Chemex is so beloved. The method is especially popular in California's specialty coffee scene, where baristas use it to show off the delicate notes in light roasts. In fact, data shows that in major Californian cities, pour-over methods like the Chemex make up 15-20% of brewed coffee sales at specialty shops. That's a huge slice of the pie, reflecting the region's discerning coffee palate. You can learn more about the Chemex's cultural significance and its role in the third-wave coffee movement.
Once the coffee has drained completely, lift out the filter, give the Chemex a final swirl to mix everything together, and pour it into your favourite mug. Time to enjoy the results of your hard work.
Fixing Common Chemex Brewing Problems
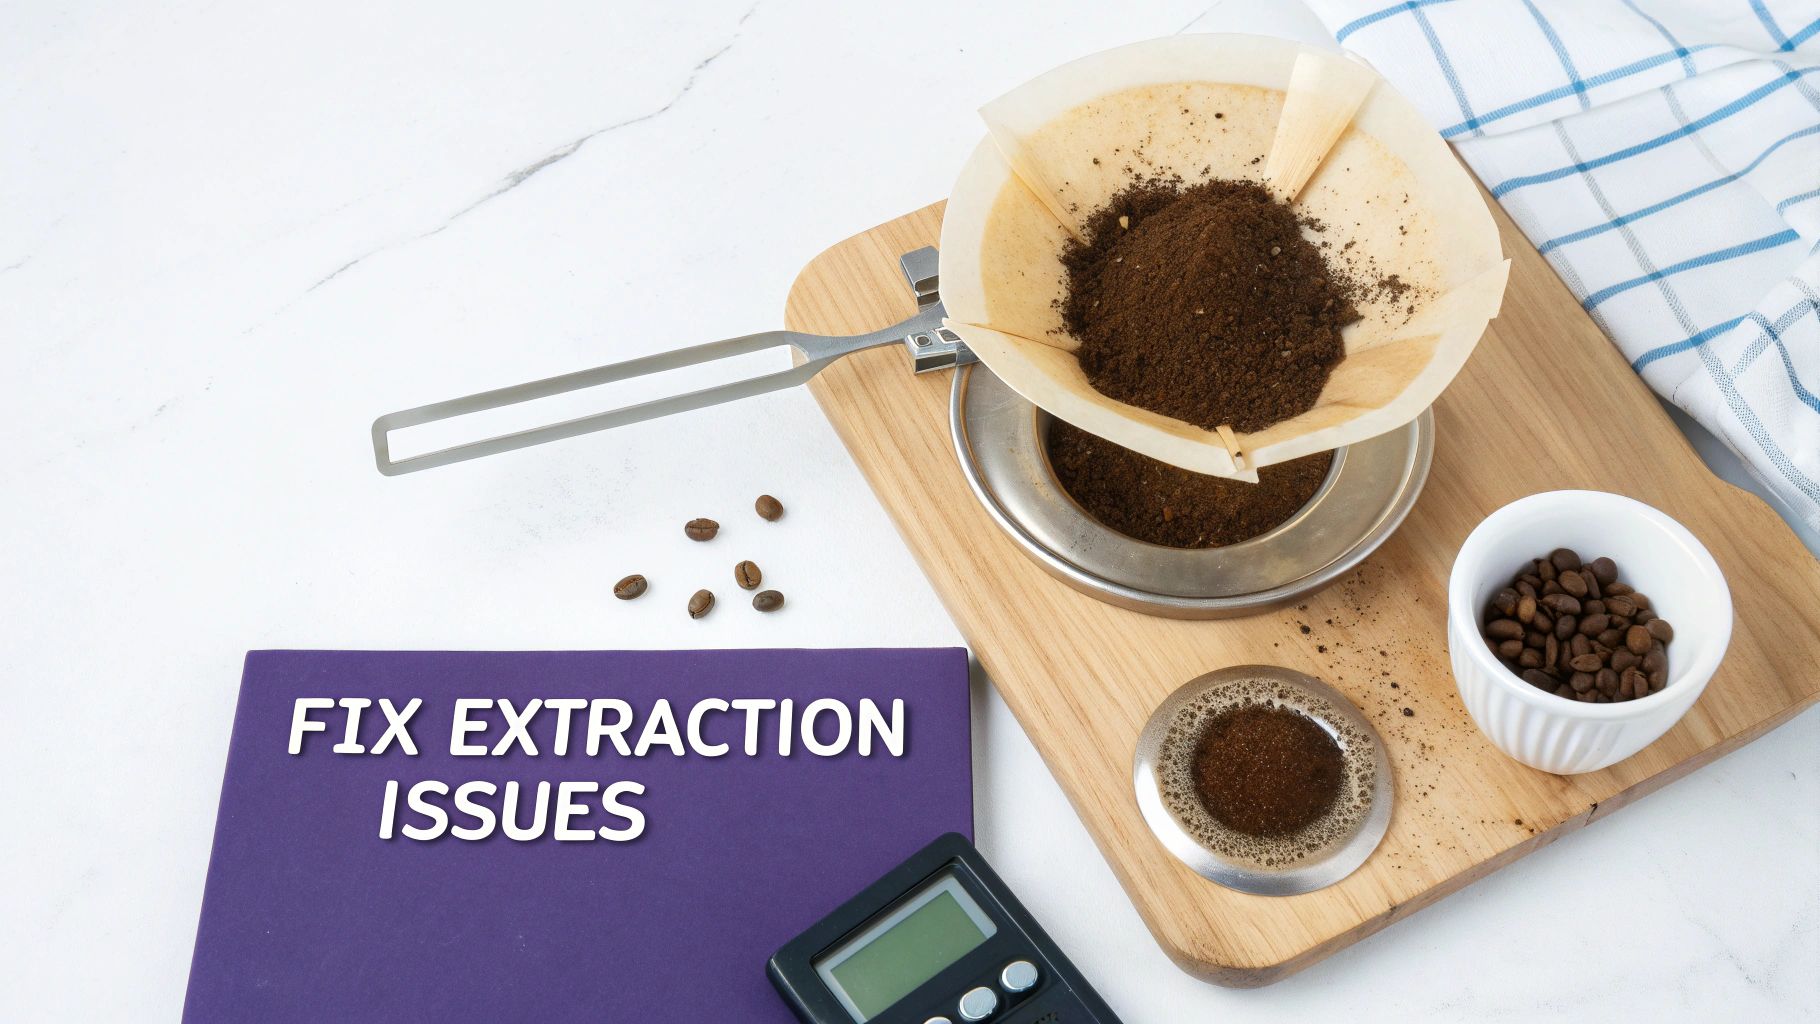 Even the most seasoned coffee lover has an off day with their Chemex. You follow all the steps perfectly, but something just isn't right in the final cup. Don't worry—most Chemex brewing issues are surprisingly easy to diagnose and fix with a few simple adjustments.
The key is learning to "read" your brew. Is it tasting weak and sour, or is it unpleasantly bitter? Did it take forever to drain, or did it rush through in just two minutes? Each of these clues points to a specific variable in your process, usually related to grind size, water temperature, or your pouring technique.
By understanding these common slip-ups, you can turn a disappointing brew into a valuable learning experience. Let's break down the most frequent issues and give you the solutions to get back to brewing incredible coffee.
Diagnosing Weak or Sour Coffee
If your coffee tastes thin, watery, or has a distinct sour tang, you're dealing with under-extraction. This simply means the water didn't have enough time or the right conditions to pull all the delicious, soluble compounds out of the coffee grounds. The result is a cup that tastes undeveloped and lacks that deep sweetness we're all chasing.
The most common culprit here is your grind size. If your coffee grounds are too coarse, water will blast right through the filter, failing to extract enough flavour along the way. Think of it like trying to make tea with whole leaves versus crushed ones—the smaller particles have more surface area for the water to work its magic.
A brew time that's too short is another potential cause. If your entire process, from bloom to the final drip, wraps up in under three minutes, you're likely not giving the coffee enough contact time with the water.
The Fix at a Glance: To correct under-extraction, the first and most effective change is to adjust your grinder to a slightly finer setting. This will slow down the water flow, increase contact time, and allow for a much fuller extraction of the coffee’s natural sweetness.
Tackling Bitter or Harsh Flavours
On the opposite end of the spectrum is over-extraction, which creates a coffee that tastes bitter, harsh, and sometimes even astringent or drying. This happens when water spends too much time with the coffee grounds, pulling out unwanted bitter compounds that are best left behind.
Just as a coarse grind causes under-extraction, a grind that is too fine is almost always the reason for over-extraction. When the coffee particles are too small, they tend to compact in the filter, severely restricting water flow. This leads to a brew that takes way too long—often well over five minutes—and tastes intensely bitter.
Water temperature can also play a role here. If your water is boiling or excessively hot (above 96°C), it can actually scorch the grounds and extract those bitter elements more aggressively.
Here’s a quick way to pinpoint the problem:
- Taste: The coffee is unpleasantly bitter, not just strong.
- Visual Cue: The brew stalls or takes an excessively long time to drain.
- Likely Cause: Your grind is too fine, or your water is too hot.
Troubleshooting a Stalled Brew
One of the most frustrating Chemex problems is when the water just stops draining through the filter—a classic "stalled brew." This almost always points back to one of two issues: a clogged filter or an airlock.
A clog happens when your coffee grounds are far too fine. These tiny particles migrate to the bottom of the filter paper and create a dense, muddy layer that water simply can't penetrate. This is a dead giveaway that you need to coarsen your grind significantly.
The second cause is an airlock, where the wet filter paper suctions itself against the glass, blocking the air channel and preventing coffee from draining out. This is exactly why it’s so important to place the three-layered side of the filter against the spout; this reinforced side is far less likely to collapse and seal off that crucial airway.
Diagnosing Your Chemex Brew
Sometimes, a quick reference is all you need to get back on track. Use this table to diagnose what's going on with your brew by looking at the taste and visual cues.
| Problem (Taste/Visual Cue) | Likely Cause | How to Adjust |
|---|---|---|
| Weak, Sour, Watery Taste | Under-extraction (grind too coarse) | Make your grind setting finer. Ensure total brew time is 3.5-4.5 minutes. |
| Bitter, Astringent Taste | Over-extraction (grind too fine) | Make your grind setting coarser. Check water temperature isn't above 96°C. |
| Brew Drains Too Slowly | Filter is clogged (grind too fine) | Coarsen your grind. Ensure the thick side of the filter is over the spout. |
| Uneven Coffee Bed | Poor pouring technique | Pour in slow, controlled circles. Use a gooseneck kettle for better precision. |
Mastering these quick fixes will give you the confidence to adapt your technique on the fly, ensuring every Chemex you brew is balanced, flavourful, and exactly how you like it.
Taking Your Chemex Skills to the Next Level
Once you’ve nailed the basic Chemex brew, you unlock a whole new world of flavour. This is where your daily coffee routine transforms into a true craft, letting you tweak and tailor each cup to highlight the incredible character of different beans. The real artistry starts here.
Your Chemex is the perfect canvas for this kind of exploration. Because its thick filter creates such a clean, clear cup, all the subtle nuances of a coffee’s origin can really shine. It’s a fantastic way to experience how the soil, processing method, and roast level come together to create a one-of-a-kind flavour profile.
Exploring Coffee Origins and Flavours
Playing around with beans from different parts of the world is one of the best parts of mastering your Chemex. The brewer is exceptionally good at letting delicate, bright notes sing, which is why it’s my go-to for lighter roasts and complex single-origin coffees.
Just think about the incredible contrast between two classic origins:
- Ethiopian Yirgacheffe: A light-roast Ethiopian brewed in a Chemex is a genuine revelation. You’ll get bright, floral aromas like jasmine or bergamot, a delicate tea-like body, and vibrant acidity. It’s common to taste stone fruit like peach or apricot, all wrapped up in a clean, zesty finish.
- Colombian Huila: On the other hand, a medium-roast Colombian bean offers a completely different experience. The Chemex will highlight its balanced sweetness and smooth, round body. I always look for those comforting notes of milk chocolate, toasted nuts, and just a hint of red apple or citrus.
Brewing these coffees side-by-side helps you build a sensory library, so you can start to identify and appreciate the unique personality each origin brings to the table. If you want to dive deeper into this, you can explore more about the impact of single-origin coffee in our detailed guide.
The Chemex really acts like a magnifying glass for coffee. It filters out so many oils and sediments that the bean's inherent flavours are amplified. That clarity is exactly why it's the preferred brewer for so many coffee pros when they want to truly taste a coffee’s potential.
Perfect Pairings to Elevate Your Coffee
That signature clean profile also makes a Chemex brew incredibly versatile for food pairings. The right snack can complement the coffee's flavours, turning a simple coffee break into something memorable. Just let the coffee’s tasting notes be your guide.
For a bright, fruity Ethiopian coffee, think about pairings that will vibe with its acidity and floral character. A lemon tart or a light almond croissant is a perfect match—their subtle sweetness and citrus notes will harmonize with the coffee instead of overpowering it.
With a richer, chocolatey Colombian brew, you can go for something a bit more decadent. A warm brownie or a classic scone from a local spot like East End Annie’s creates a deeply comforting combo. The coffee’s smooth body cuts right through the richness of the pastry, making every bite and sip even better.
Maintaining Your Chemex for Lasting Quality
To keep every brew tasting as clean and delicious as the first, a little bit of maintenance goes a long way. Over time, coffee oils can build up on the inside of the glass, and if left, they can turn rancid and impart some funky, off-flavours into your brew. Thankfully, keeping your Chemex sparkling is easy.
For daily cleaning, just pop off the wooden collar and leather tie. Wash the glass carafe with warm, soapy water and use a soft bottle brush to get all the way to the bottom. It’s absolutely crucial to rinse it thoroughly to get rid of any soap residue, because that will definitely ruin your next brew.
About once a month, it’s a good idea to give it a deeper clean. A simple solution of equal parts white vinegar and water—or a specialized coffee equipment cleaner—will work wonders to dissolve any stubborn oil buildup. Let the solution sit for 15 minutes or so, give it a good swirl, and then scrub gently before rinsing it out completely. With a little care, your Chemex will keep brewing flawless coffee for years to come.
Your Chemex Questions, Answered
As you dive deeper into the world of Chemex, a few questions are bound to pop up. Perfecting your technique is a journey, and getting clear answers to those little nagging uncertainties is what builds true brewing confidence. Think of this as your go-to guide for the most common queries we hear.
We'll cover everything from the nitty-gritty of grind size and filter choices to proper cleaning and the science behind that crucial bloom. With these insights, you'll be well on your way to brewing consistently incredible coffee.
What Is the Best Grind Size for Chemex?
For a Chemex, you're looking for a medium-coarse grind. A good visual cue is the texture of coarse sea salt or raw sugar. Getting this right is absolutely essential because it dictates how quickly water flows through the coffee, which in turn controls the extraction.
If your grind is too fine, like powder, the water will get stuck and take too long to pass through. This over-extracts the coffee, leaving you with a bitter, unpleasant taste. On the flip side, if the grind is too coarse, water will rush through, resulting in a weak, sour, and watery cup. A quality burr grinder is your best friend here—it's the only way to get the consistency you need.
Can I Use Regular Paper Filters?
It’s tempting, I know, but using standard coffee filters in a Chemex is a move I'd strongly advise against. The proprietary Chemex bonded filters are not just an accessory; they are a core component of the brewing system and what gives the coffee its signature character.
These filters are 20-30% thicker than the ones you'd find at the supermarket. This added thickness is what removes most of the coffee oils and fine sediment, creating that famously clean, bright, and smooth cup the Chemex is celebrated for. A generic filter just won't do the same job—you'll end up with a brew that has more body and grit, fundamentally changing the taste profile.
How Do I Clean My Chemex Properly?
Keeping your Chemex sparkling clean is simple, but it's non-negotiable for pure flavour. For daily upkeep, just follow these quick steps:
- Slip off the wooden collar and leather tie.
- Wash the glass carafe using warm water and a gentle, unscented soap.
- A long-handled bottle brush will help you scrub the bottom and sides without any fuss.
- Rinse it thoroughly to make sure there's zero soap residue left behind.
Every once in a while, you might notice a stubborn buildup of coffee oils. For a deeper clean, a solution of equal parts white vinegar and water works like a charm. Let it soak for 15 minutes, give it a light scrub, and then rinse it out completely.
The Chemex is made from non-porous borosilicate glass, so it won’t hang onto odours or chemical residues. However, leftover coffee oils can go rancid and will definitely spoil your next brew. A clean brewer means every cup tastes as fresh as it should.
Why Is the Bloom So Important?
That initial pour of water over your coffee grounds is called the "bloom." You'll want to use just enough hot water to saturate the grounds—about twice the weight of the coffee itself (so, 60 grams of water for 30 grams of coffee). You’ll see the coffee bed swell and bubble up; that’s trapped carbon dioxide (CO2) making its escape from the freshly roasted beans.
This 30-45 second step is critical because it degasses the coffee, preparing the grounds for a much more even extraction. If you skip the bloom, that trapped CO2 will actively repel water during your main pour. This leads to an inconsistent, under-extracted brew that often has a distinct sourness to it. Don't skip the bloom!
Ready to put this knowledge to the test with beans that are practically made for a Chemex? East End Annie's has a curated selection of locally roasted coffee that’s perfect for highlighting the clean, nuanced flavours this brewer is famous for.
Explore our coffee collection and find your new favourite brew today!